Note:
- Please disable other synchronization plugins when using Sync Vault, including the official Obsidian Sync.
- Do not place your vault in synchronization directories such as iCloud Sync Folder or Baidu Sync Space while using Sync Vault; otherwise, unpredictable errors may occur.
- It is recommended to disable proxies during cloud disk synchronization, as proxies may cause abnormal cloud disk access.
Installation
1. install from plugin market(Recomended)
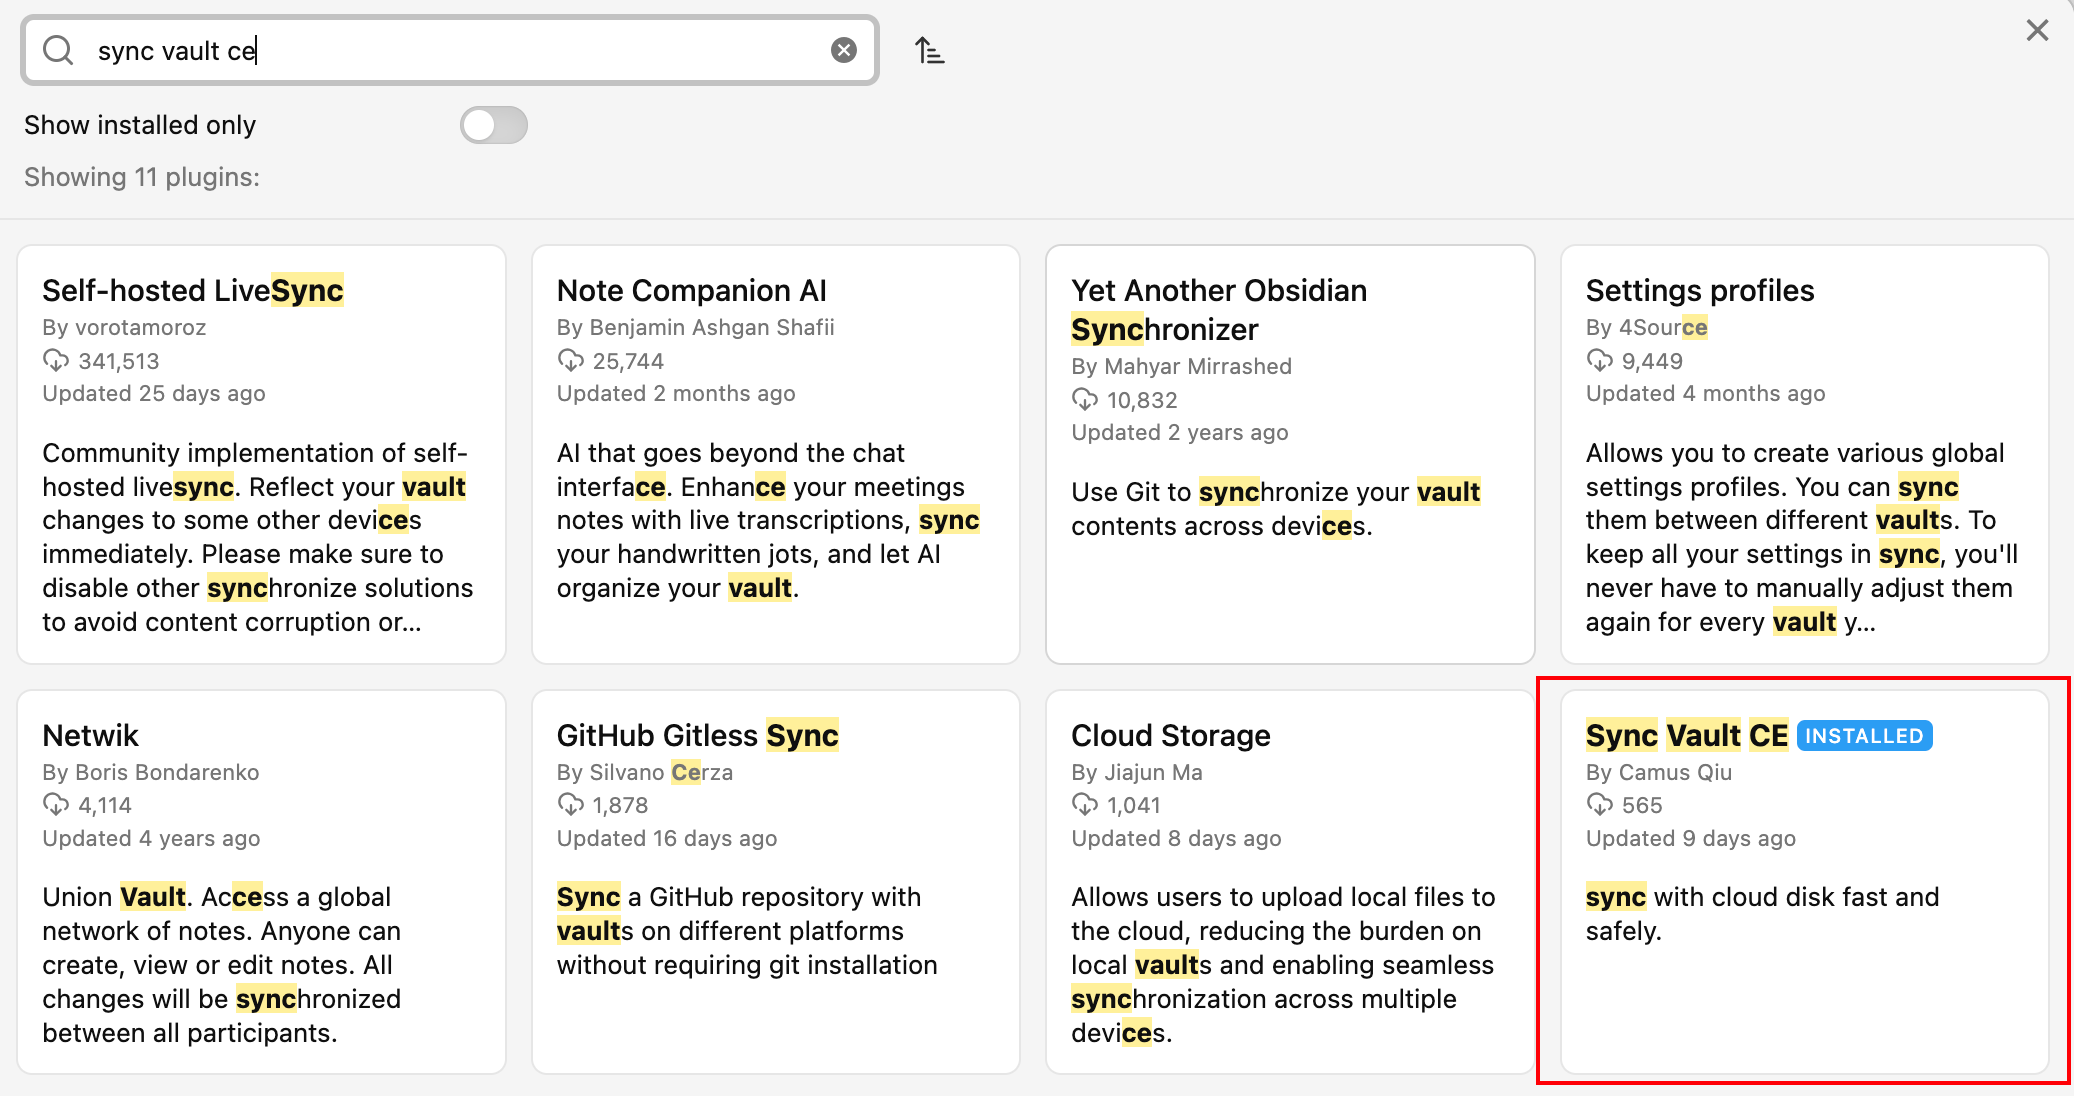
Step 1: install Sync Vault CE from Obsidian Plugin Market.
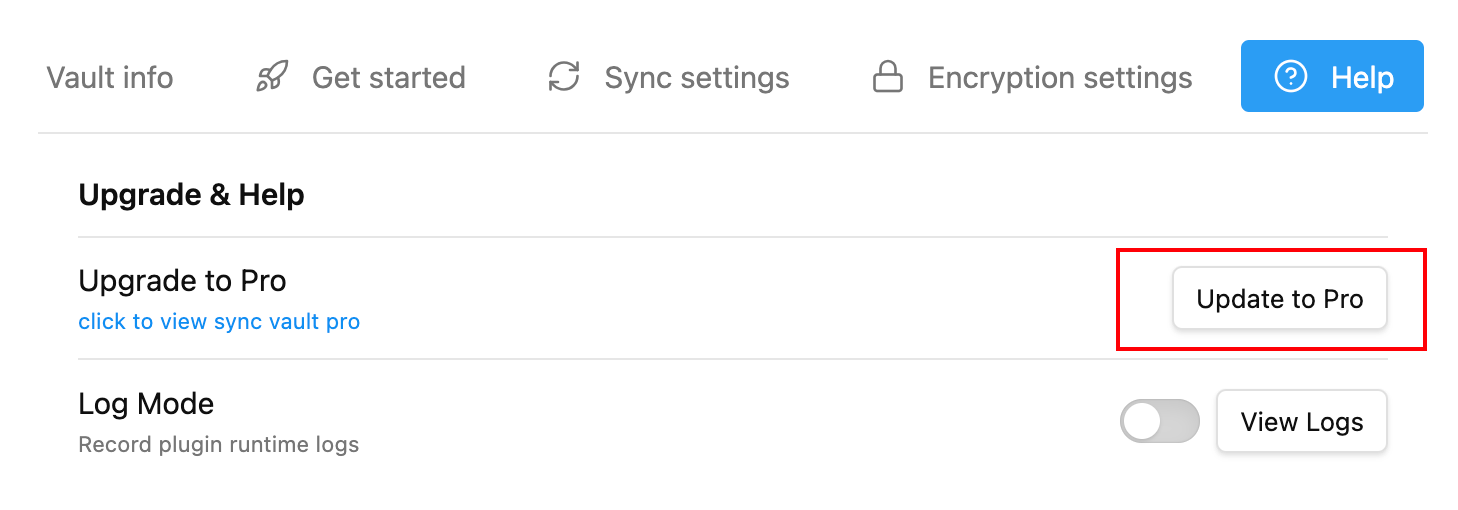
 Step 2: Upgrade to PRO version
The interface after successful setup is shown in the image below:

Click here to obtain an activation code
2. using the preconfigured vault
Download the vault directory from the link below👇🏻Link: https://pan.baidu.com/s/1MDQLxaoFRNZiwxBYDygZJg?pwd=sf6kExtraction Code: sf6kRefer to the “How to Use.md” file included in the directory for usage instructions.
Quick Setup
Authorize
- Navigate to the plugin settings page.
- Click the “Get Started” tab.
- Click the “Start Authorization” button and follow the on-screen instructions to complete cloud disk authorization.
The welcome page
After successful authorization, you will be redirected to a welcome page. Follow the steps described there or as below 👇🏻
Open dashboard
Find the ☁️ ribbon(for mobiles,find ’≡’ in right-bottom corner, then click it), click it, the dashboard will be displayed like this:
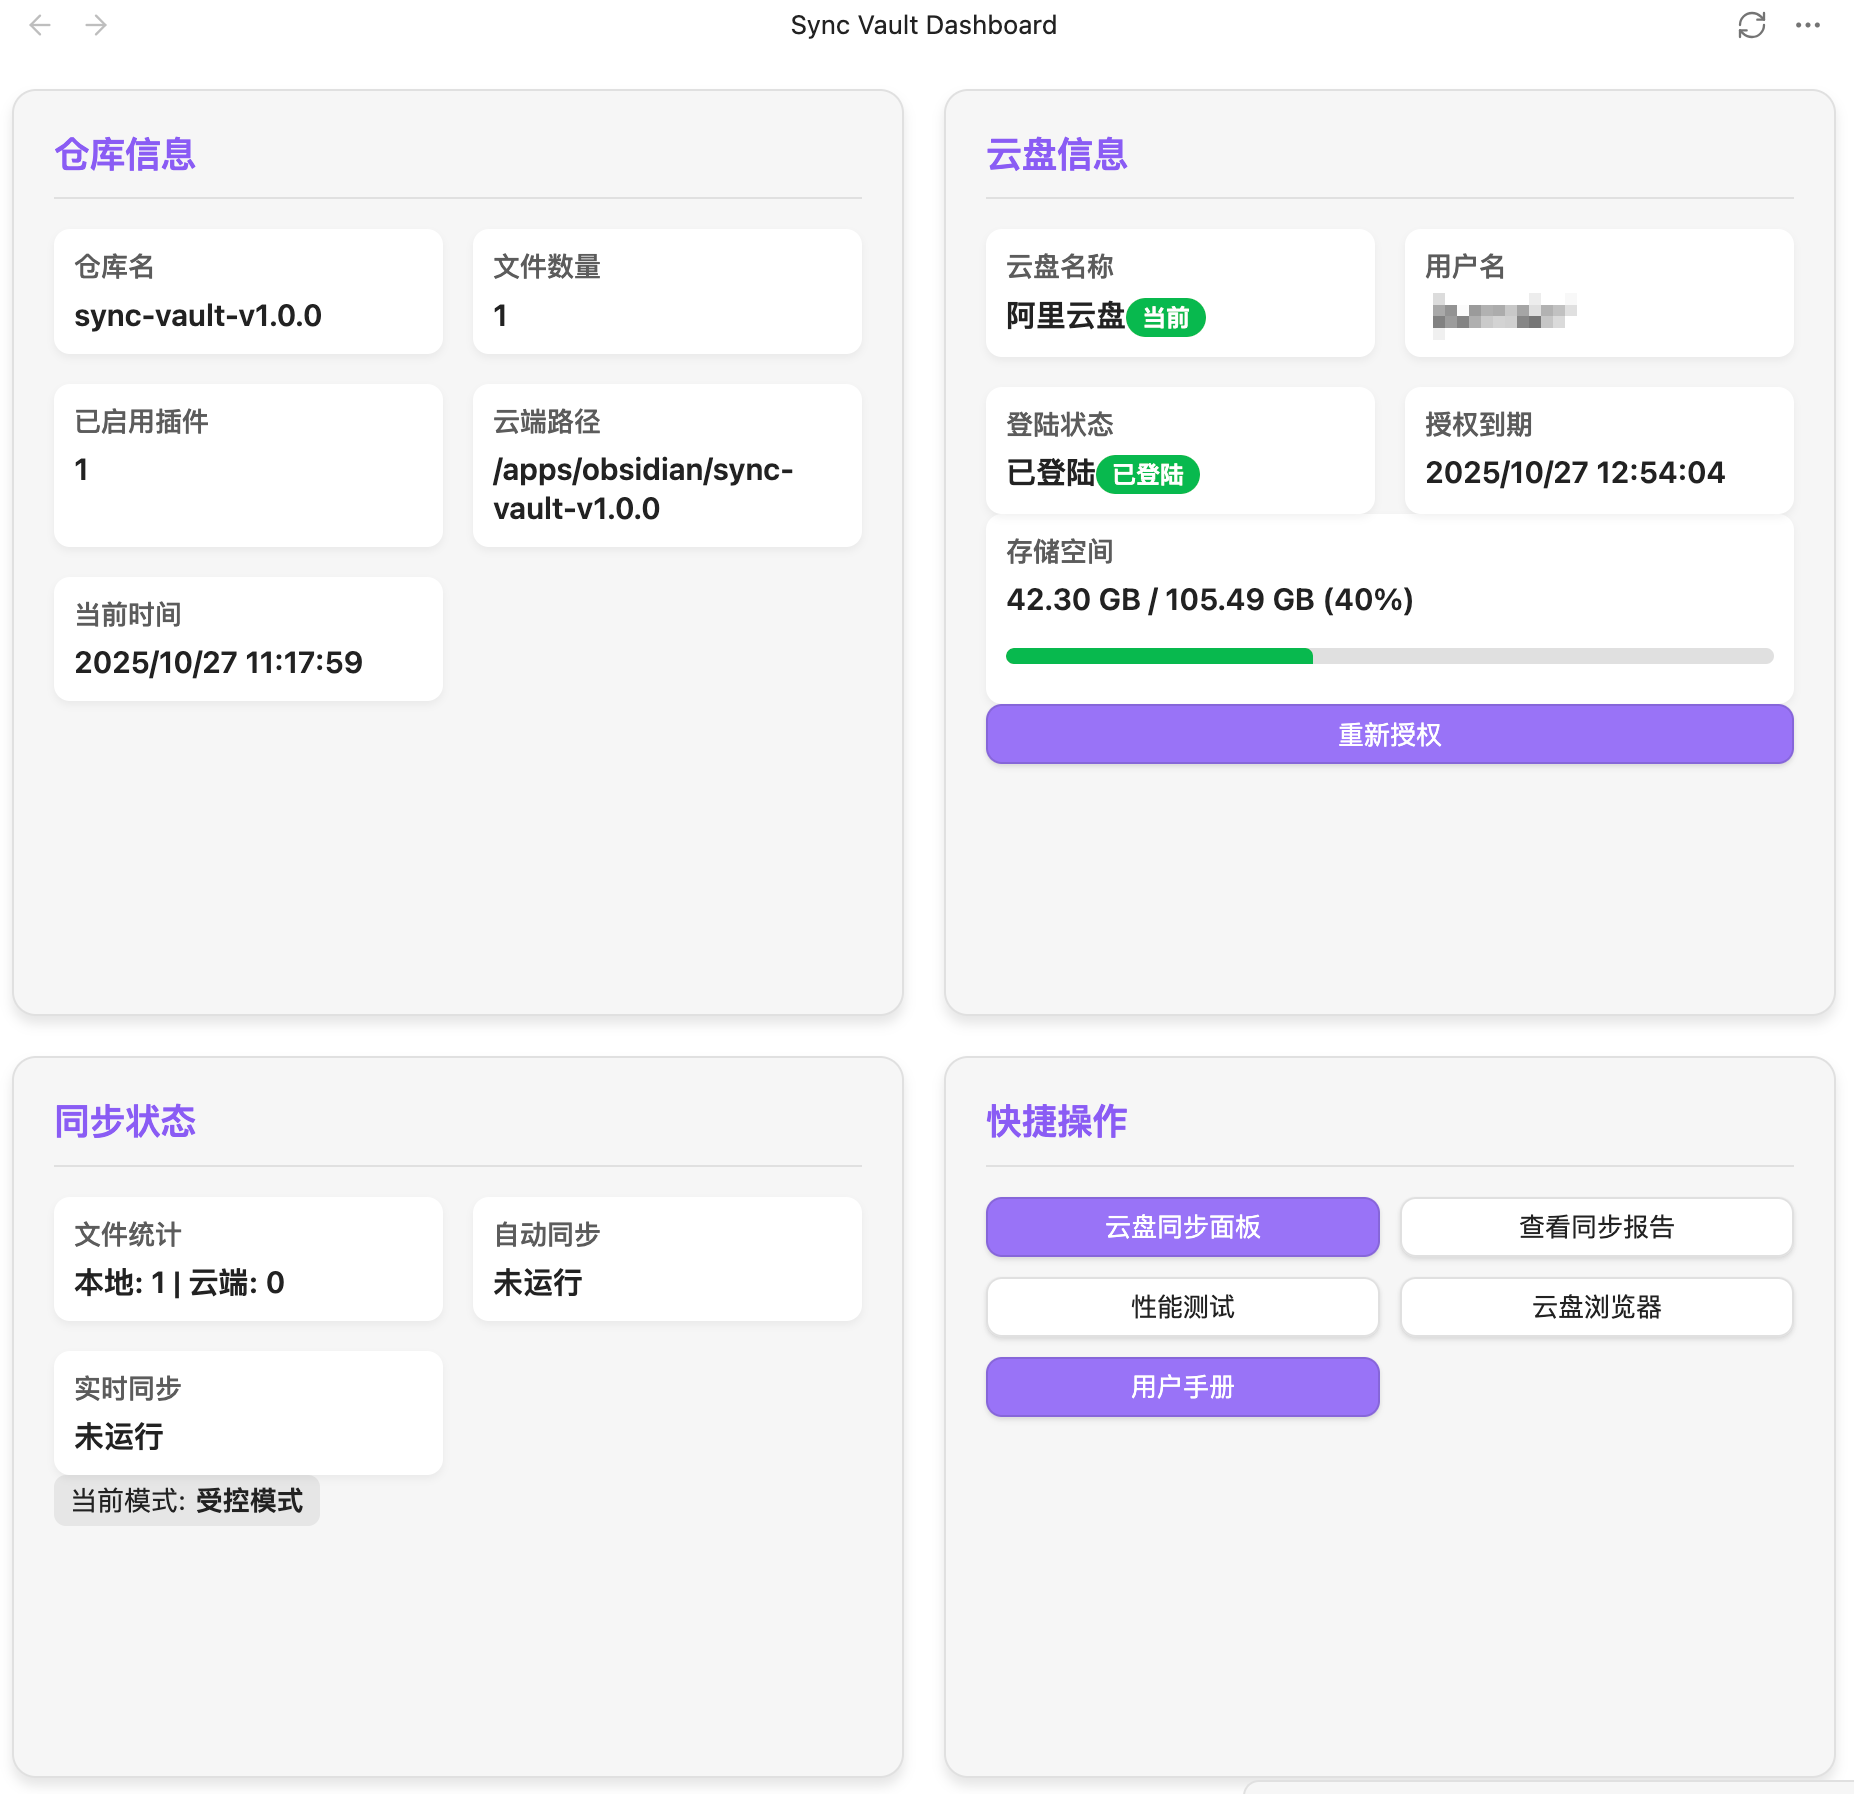
There are four cards in dashboard:
- Vault info card.
- Cloud disk info card.
- Sync status card.
- Quick action card.
Navigate to syncing panel
- Go to the ‘Quick Action’ card,
- click ‘Cloud syncing panel’.
A syncing control panel will be opened.
If current sync mode is controlled mode, a file explorer will be shown.
if current sync mode is auto mode, a sync status view will be shown.
No panel will be opened in p2p mode (namely ‘live sync mode’).
Congratulations, enjoy your syncing journey.🍻